Table of Contents
Introduction
Understanding what lies beneath the surface is crucial for homeowners dreaming of a vibrant, green lawn. While mowing and watering are important, the real foundation of a healthy lawn begins with the soil. Proper soil testing unlocks the information you need about nutrient levels, pH balance, and other critical factors affecting grass growth. If you’re looking for expert guidance and customized lawn care services, exploring https://teedandbrown.com/locations/new-york-lawn-care/hawthorne/ can be a helpful step for homeowners in the Hawthorne area.
Soil tests clearly show your lawn’s health needs, ensuring that your efforts yield real, sustainable results. Done correctly, soil testing reduces guesswork when choosing fertilizers and amendments, ultimately saving you money and protecting the environment. By regularly testing your soil, you’re setting your lawn up for year-round success and resilience.
Before spraying more fertilizer or adding lime to your grass, you must know your soil’s needs. Many common lawn issues, such as yellowing, poor growth, and weed invasions, can often be traced directly to imbalances or deficiencies found below the surface. Soil testing brings science-backed precision to your lawn care routine, eliminating unnecessary treatments and promoting lush, strong turf.
Proper soil analysis leads to greener grass and supports environmental stewardship in your neighborhood. The U.S. Environmental Protection Agency highlights how nutrient runoff from over-fertilized lawns contributes to hazardous algal blooms and impacts drinking water quality, making responsible lawn care more important than ever.
When to Test Your Soil
The best time to test your soil depends on the type of grass in your lawn. The ideal testing window for warm-season grasses, such as Bermuda or Zoysia, falls between March 15 and April 30. This period precedes the most active phase of grass growth, allowing you to plan amendments. For cool-season grasses like Kentucky Bluegrass or Fescue, testing in late summer to early fall—between August and September—produces the most useful information for fall and spring renovations.
Preparing for a new lawn? Soil testing before you seed or sod helps ensure the site is properly balanced and primed for root development. Once established, repeating a soil test every two to three years, or whenever troubleshooting turf problems, provides ongoing clarity about your lawn’s evolving needs.
How to Conduct a Soil Test
Step-by-Step Instructions
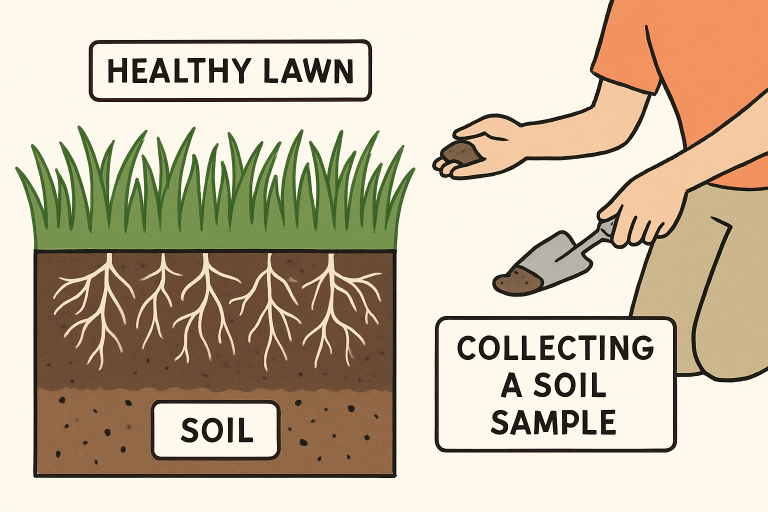
- Collect Multiple Samples: Gather small samples from 10 to 15 random spots across your lawn using a clean spade or soil probe. Dig down approximately 6-8 inches—the typical root zone for most lawns—removing thatch and grass from the surface before collecting the soil.
- Mix Samples Thoroughly: Combine all collected cores in a clean bucket and blend them to produce a uniform composite sample. This mixture will provide a representative snapshot of your entire yard.
- Prepare Your Sample for Testing: Place about a cup of the mixed soil into the testing kit envelope or container provided by your local cooperative extension office or a certified soil lab.
- Submit for Professional Analysis: Mail or drop off the sample promptly. Most labs will provide comprehensive results within a few weeks and recommendations tailored to your location and grass type.
Many cooperative extension services offer online guides or drop-in sessions for homeowners new to soil testing. By following their guidelines, you can ensure your results are accurate and useful.
Interpreting Soil Test Results
Understanding your soil test report is the key to taking effective action. The results will typically highlight three primary categories:
- Nutrient Levels: This method reveals concentrations of macronutrients (nitrogen, phosphorus, potassium) and, often, secondary nutrients like calcium and magnesium.
- Soil pH: Indicates whether your lawn’s soil is acidic, neutral, or alkaline, as well as the degree of correction needed.
- Lab Recommendations: Most reports include practical advice, such as the exact amounts and types of fertilizer or lime to apply, and when to apply them to remedy observed imbalances.
If you’re unsure about your results, HGTV resources explain common findings and treatments, helping you interpret the data to make better decisions about your lawn care routine.
Benefits of Regular Soil Testing
Routine soil analysis pays off in several meaningful ways:
- Customized Lawn Care: Soil test results empower you to create a bespoke lawn care plan, applying only the nutrients your grass genuinely needs. This leads to healthier, denser grass with stronger roots that outcompete weeds and resist stressors.
- Cost Efficiency: Targeted fertilization makes your lawn care budget go further. Rather than over-purchasing general fertilizers, you can apply the right products in the correct proportions.
- Environmental Stewardship: Proper soil management reduces nitrogen and phosphorus runoff, safeguarding local rivers, lakes, and drinking water supplies for your community.
Consistent soil testing not only leads to a more attractive lawn but also ensures you’re investing your time and resources wisely while lessening your environmental footprint.
Final Thoughts
Soil testing is the backbone of effective, eco-friendly lawn care. By identifying and addressing the particular needs of your soil, you can enjoy a green, thriving lawn season after season. Whether your goal is luxurious turf or sustainable landscaping, a simple soil test is the first, most powerful step toward informed, successful lawn maintenance.